Saturday, June 30, 2012

Roller Skate Shape Card

Hello everyone I have a fun shape card for you today....
When I was a little girl we had those old metal roller skates that you would adjust the size and attach to your shoes with leather straps... does anyone remember those? Similar to the photo below, well that dates me I'm sure. :)
My card is cut from the Birthday Bash Cricut cartridge, and this shape card is an actual shape card in the handbook, no need to weld the images together.
This great Happy Birthday sentiment is from My Craft Spot's Birthday Wishes clear stamps, and the twine is Blueberry you can fine these items in Kimberly's shop -HERE.
Below is a video... enjoy
Rolled Rose and Royal leaves metal dies (die-namics) are from My Favorite Things and can be found -HERE.
 The inside sentiment is from the same stamps set Birthday Wishes.
 
Thanks for visiting... have a fantastic day!

Thursday, June 28, 2012

Thinking of You Island of Palm Trees Card

Hello everyone,
Today I got to post a design team feature post over at My Craft Spot, this is my "Thinking of you" Island of palm trees card.
I used Kimberly's Inside & Out -Set #2 stamp set for the sentiments on the outside and the inside of the card. This is a great versatile stamp set for many occasions and if you like to add words to the inside of the card as well as the outside it's perfect! You can find the stamp set -HERE
Below is a video of how I made this card...

I used the cricut cartridge Life Is a Beach for the images, the cloud image is from the Everyday Paper Dolls cartridge. I added inking to all the edges with the Tim Holtz Vintage Photo or Tea Dye ink pads, and for the clouds I used Jenny Bowlin Soap Powder ink.

I adding a hint of stitching using my sewing machine on the "thinking of you" tab and the waves.


Remember to mark your calendars for the "Stamp Release Party" at My Craft Spot
July 9th -14 ... prized every day!
My Craft Spot
Have a great day, and thank you for stopping by :)

Monday, June 25, 2012

Pocket Card -My Craft Spot Challenge Project -With Video

Hello friends,
Today is fun challenge over at My Craft Spot
Challenge #61 Hot Summer Colors
use bright summery colors on your project

I had so much fun making these Pocket Cards, I made 6 so then I will have a few on hand, when I need them.
The plain cardstock is from Stampin Up, Sage Shadow, So Saffron and Pink Passion, the patterned papers is from DCVW Fresh Floral Stack.
Below is a step by step video of how I created these cards.
Words are from Sweet Sentiments #1 clear stamps from My Craft Spot as well as the crinkle ribbon

Flower is made using the Mother's Day Bouquet cricut cartridge and sprayed using glimmer mist.


Head over to  My Craft Spot to see the other "Hot Summer Color" projects made by the talented My Craft Spot design team  -HERE. You'll be inspired by their creations!

Remember to mark your calendars for the "Stamp Release Party" at My Craft Spot
July 9th -14 ... prizes every day!
My Craft Spot

Thank you for stoping by!

Wednesday, June 13, 2012

My Craft Spot -Penny Sale!

What can you get for one penny?  A stamp set of course!
My Craft Spot is having a Penny Sale -buy 4 stamp sets and get the 4th for 1 cent!
Click -HERE for more details.

Monday, June 11, 2012

Dad, you're the best! Fisherman card -My Craft Spot project


Hello, for today's Fantabulous Cricut challenge please click -HERE.

Welcome to a wonderful new challenge hosted by My Craft Spot 
this weeks My Craft Spot challenge
King of the Grill
Make any card to honor dad!
When I was a little girl we would go camping and fishing every Summer, while my dad fished I usually played on the rocks or played in the water, I wasn't much of a fisher girl.  I'm still not but my husband and daughter really enjoy it.
My Fly Fisherman shape card was so much fun to make!  Guess what cartridge I used.... Everyday Paper Dolls pg. 70 of the handbook, can you believe that? I still love this Cricut cartridge! There are tons of images for nearly every occasion, and you don't ever need to use the paper doll as in my card below.
By layering several layers and cutting different colors of cardstock for one image you get an amazing 3-d look.  For example, for the fishing pole I used three different colors, brown for the pole, tan for the handle and silver for the reel. Below is a sneak peek of how I cut my images with out using tons of cardstock.  Please note: I do use my gypsy, I almost never make a card with out my gypsy, so if you don't have one I want you to know I personally love mine!  
Below: on the brown I cut two fishing poles (sorry for the image, it's difficult to see but there are 2) for the tan and silver pieces I only wanted the handle, so I rotated my image around and pulled the image almost off the mat leaving only the handle (I could have dragged the fishing pole image to the right of the mat, not sure why I rotated and pulled to the left).  I hope this gives you an idea of how I make my detailed, layered, shape cards. I've thought about making a video, if you are interested leave a comment so I know there is an interest ;)
I had so much fun bringing this card to life, this card fits in a long size envelope 9 1/4" x 4 1/8"
All card stock is from Stampin' Up, except for the fish I used glitter card stock purchased individually at JoAnn's.  Every thing was inked using Distress Ink, Vintage Photo, and used lots of mounting tape for all the layering.
Close up of the fisherman's vest.  I made 3-d pockets using rectangle and square punches, and 1/2 of a circle punch was used for to top pockets, used my corner chomper to round the corners. I poked holed to give a "faux stitching" look, added buttons and used my mounting tape to raise them off the vest.
I love this tag hanging from my "hand tied fly" on the vest that reads "Dad, you're the best!" this stamp is from the Tiny Tags stamp set from My Craft Spot.
close up side views
I hope you can get a good look at my hand tied flies, they were a hoot to make. I used jewelry pin heads to make the hooks, just bending then twisting at the top to make a loop to thread the different colors of Bakers Twine (which I unwound and made quite shaggy looking) for each fly.
I also used the Kraft Bakers Twine for the fishing pole line. The baker twine is from My Craft Spot.
another side view
closer view of the fisherman's basket
I had some sticky mesh that I've had in my stash for years and found a great use for it on my basket lid. I put 3 fish in the basket....do you love the fishes eyes... they are black brads, my daughter squealed "oh the look so real".... she does not like fish at all, it was so funny... she's 19.
Seriously, paper piecing images from Everyday Paper Dolls cricut cartridge it totally fun, I had a blast making this card for a special dad.
I hope you enjoyed my card and were inspired in some way today, and if you haven't seen the rest of the My Craft Spot design team projects for the "King of the Grill" challenge, head over to My Craft Spot and see what they've made -HERE. you'll love their creations!
Thank you for stoping by!

For Dad Golf Cart -Fantabulous Cricut Challenge project


Hello, for today's My Craft Spot Challenge please click -HERE.

It's another Fantabulous Monday which brings another challenge from Fantabulous Cricut Challenge Blog, this week we are celebrating our wonderful fathers.
 Challenge #115 -Fathers Day
Make a project using an outdoor theme, camping, hunting, fishing, hiking etc.
For my outdoor theme I choose golf, because my honey is getting a new set of clubs this year... shhhhh.
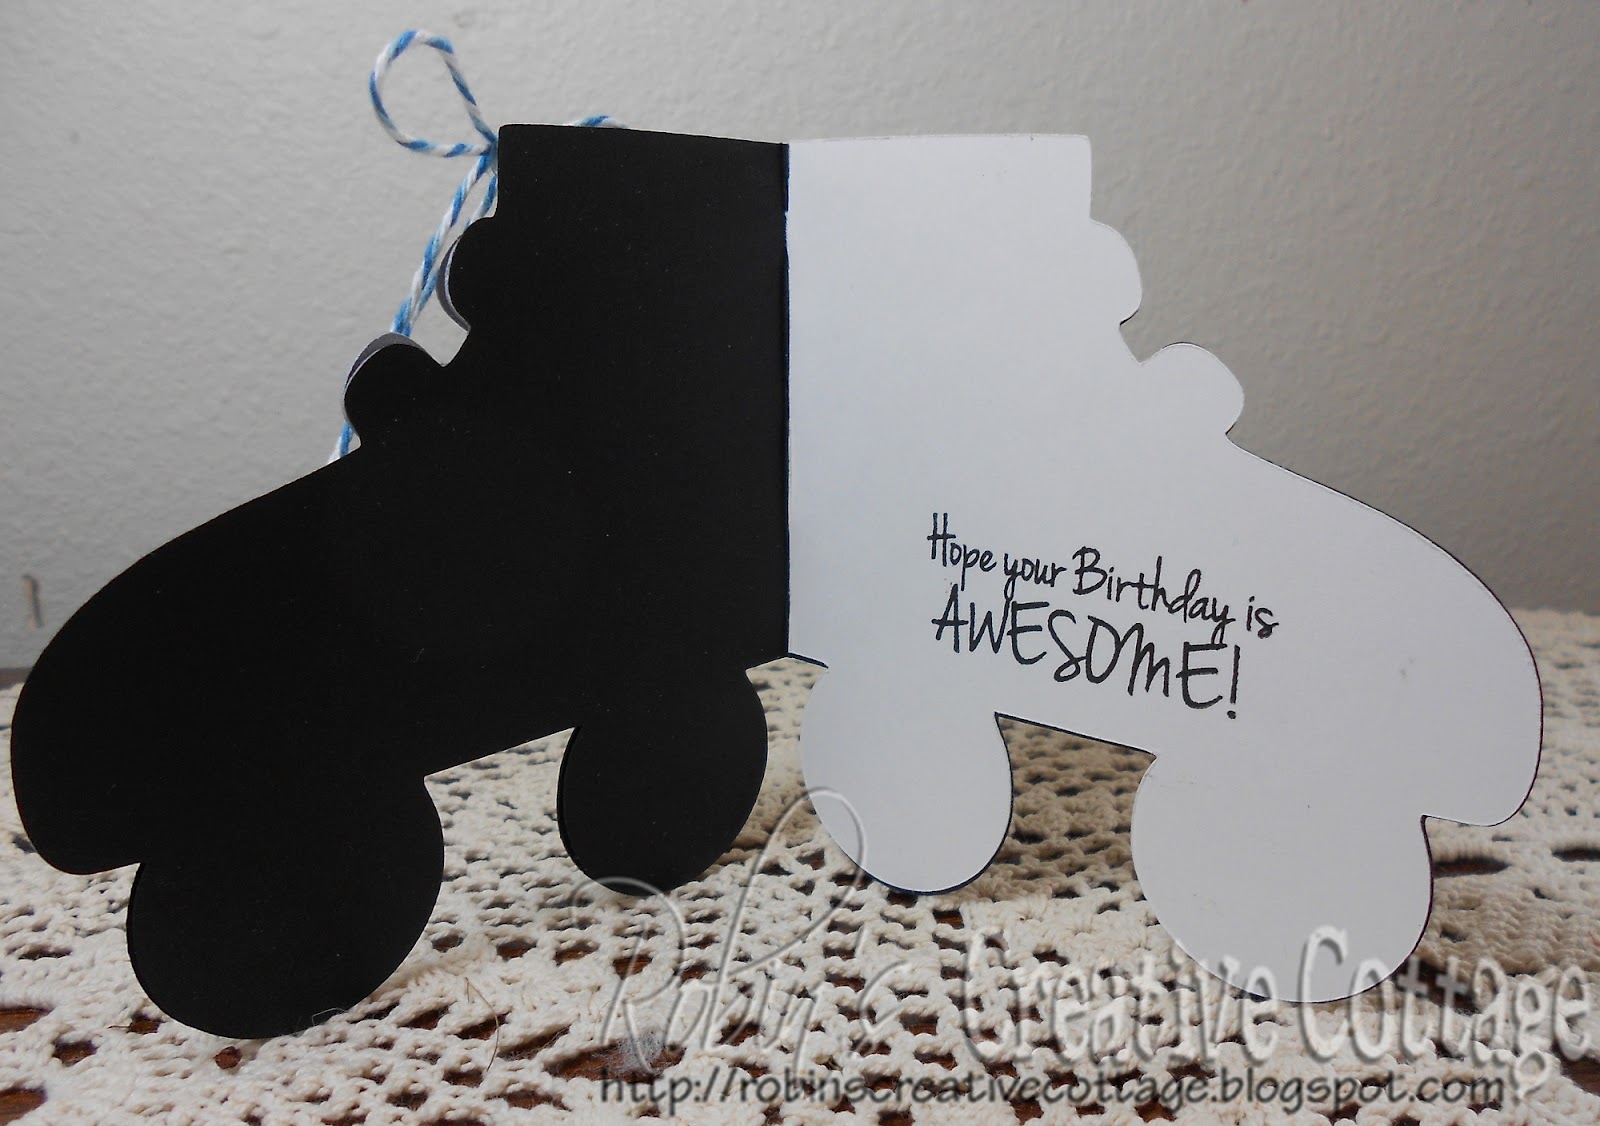
I have another amazing shape card to share! Do you have Everyday Paper Dolls cricut cartridge and have not played with it for a while?  Well then, it's time to blow the dust of that one and use it!  Yep I used Everyday Paper Dolls cricut cartridge the images are from pg. 54 of the handbook. I used the golf cart, bag with clubs, flag, tee, and the ball image.
By layering several layers and cutting different colors of cardstock for one image you get an amazing 3-d look.  For example, for the golf bag with clubs I used two different colors, red for the bag and silver for the clubs (I also cut the flag pole with the silver at the same time). 
Below: I've cut the red bag three times, for the silver I only needed the clubs cut, so on my gypsy I pulled the image down toward the bottom right of the mat leaving only the clubs and just the top of the bag showing.  
I hope this gives you an idea of how I make my detailed, layered, shape cards.
 I've thought about making a video, if you are interested leave a comment so I know there is an interest ;)
This card will fit an A2 size envelop, my card measures approximately 5 1/2" x 4 1/4"
I love the "for Dad" tag wrapped around the golf cart, it's from the stamp set Tiny Tags, the Bakers Twine name is Vintage Cherry both can be purchased from My Craft Spot.  I love the Tiny Tags Stamp Set.
All the cardstock is from Stampin Up, except for the "designer seat cover" and "steering wheel cover" (patterned paper I had is my stash), the grass cut using the Martha Stewart grass border punch with Coordinations cardstock.
All images were inked up using Tim Holtz Distress Ink -Tea Dye except the tag and blue background.
Here is a side view of the golf bag, 
Close up view of bag, tee and golf ball. I poked holes to give the bag a "faux stitching" look added a stitched 3-d pocket.
Close up of the golf cart, my husband's nickname is "Slick" so I cut the word using the Birthday Bash cartridge, the used the cut out image as a stencil and sponged the word onto the cart, looks cool! 
Lifting the golf cart front
I used my Swiss Dots Cuttlebug embossing folder to emboss the blue cardstock to look like the sky.
I decided to make this a tri-fold card so there would be a larger area for my girls to write a message to dad. It's longer then 12"x 12" that is why the blue cardstock is hanging over the edge.

That's my Father's Day card, I hope you were inspired in some way.
Remember to  head over to Fantabulous Cricut to see the other great projects that the design team has created, and we would love you to join us for This Weeks Challenge -"Father's Day"  -HERE.

Remember if you're interested in seeing a video of how I make my shape cards let me know by leaving a comment ;)
So glad you took the time to visit today, thank you!

Monday, June 4, 2012

Happy Birthday -Teapot Cards


When I made my teapot card last week I had cut several of the teapot images so I could make more cards. It's great to have birthday cards on hand.


Thanks for visiting today :)