Showing posts with label Christmas Cheer. Show all posts

Monday, January 7, 2013

Chillin' Penguin My Craft Spot DT Project

Hi everyone, I seems so long since I've posted a project (really it has been so long since I have crafted). I have a few computer issues, and with the holidays life got quite busy... but I'm so glad to be crafting again and sharing a card with you.  
Today brings another fun challenge at My Craft Spot, this weeks challenge...
Frosty Days
(Winter theme)

My card is this cute "Chillin' Penguin" 
I cut my penguin at 3" from the Christmas Cheer Cricut cartridge... he's so cute with his rhinestone eyes and stickles added on his hat. The oval and scalloped oval are a spellbinders die, and the snowflakes are a Martha Stewart punch and an old Stampin' Up punch that I've had for years.
I love the saying "Just Chillin'" from Kimberly's "Think Snow" Stamp set.
The denim crinkle ribbon and navy blue jute twine is also available from Kimberly store -HERE.
 Inside of card
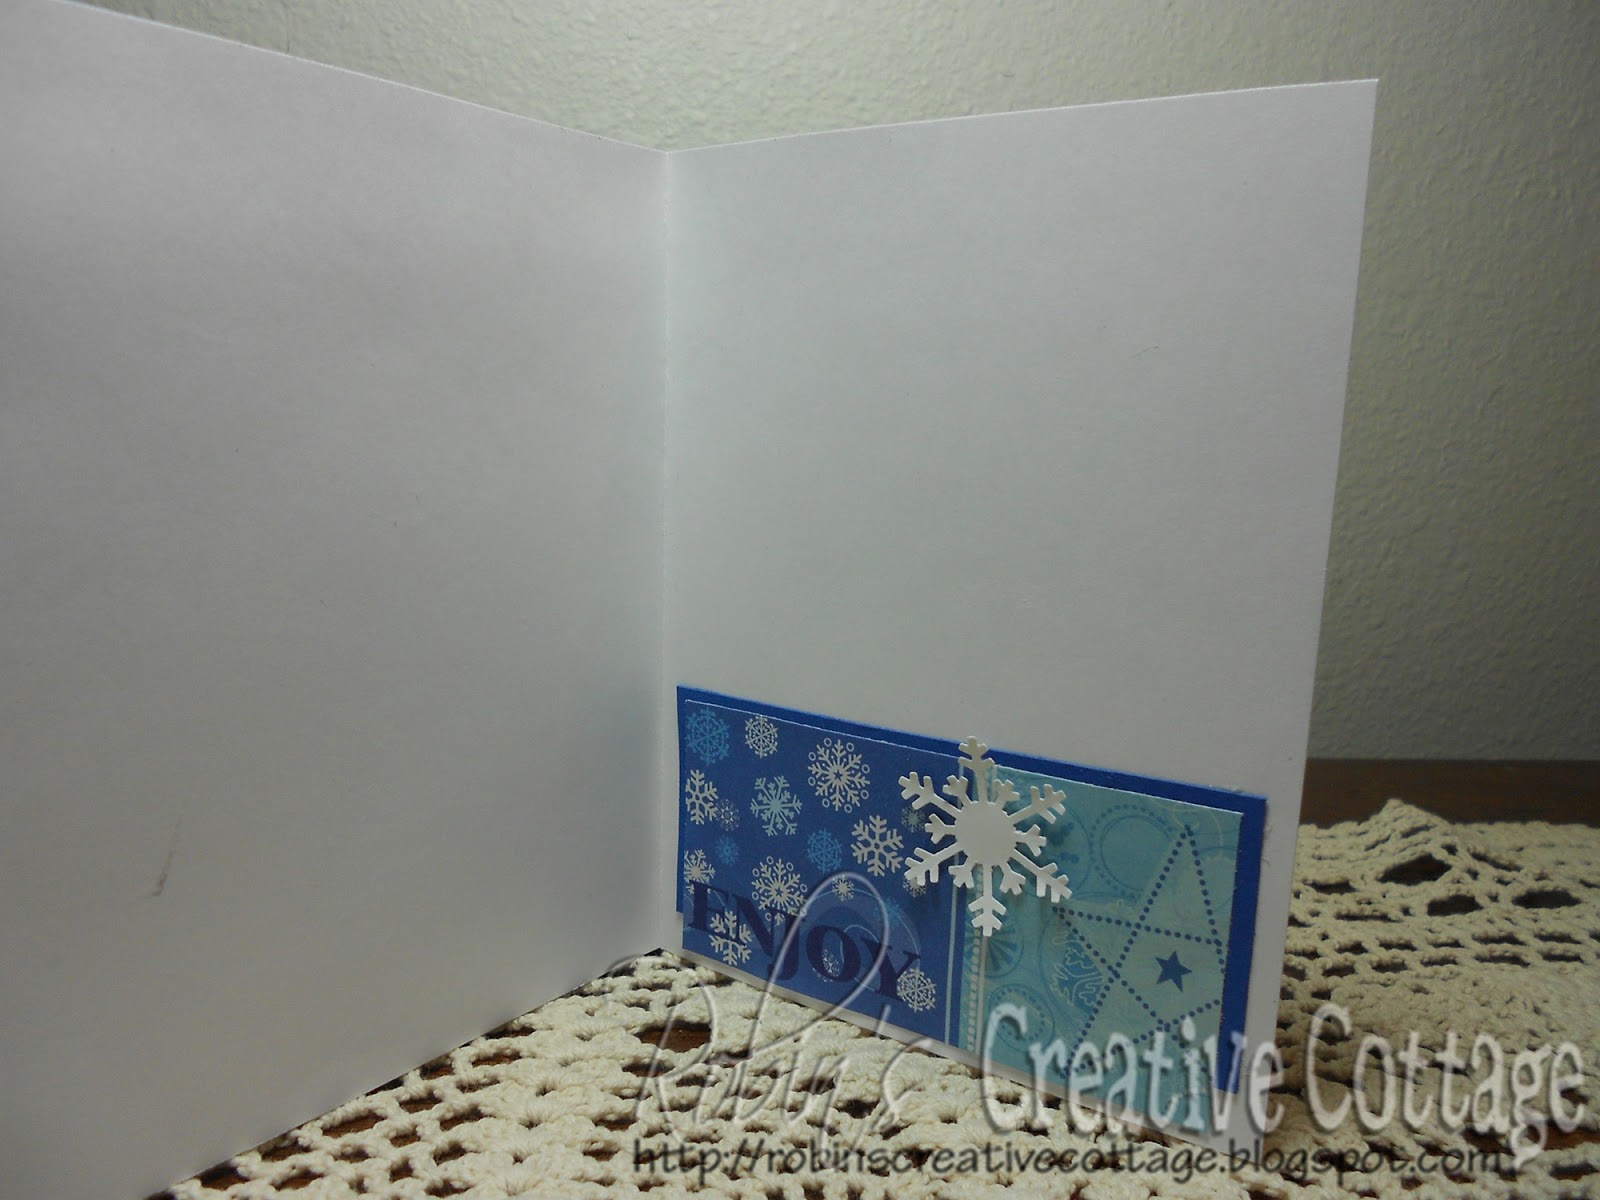
Remember to head over to My Craft Spot to see more of the design teams "Frosty Days" projects, and join us for this weeks challenge to include "a Winter theme" on your project.-HERE.
Thanks for visiting my blog... comments are always welcomed and so appreciated, have a wonderful day :)


Monday, December 19, 2011

Gift Tag -Fantabulous Cricut Challenge

Hello, It's Monday and time for another Fantabulous Cricut Challenge Blog challenge, this weeks theme is...
Trimming With a Tag
Use a tag somewhere on your project

I made a cute box using the Sweet Treats Cricut cartridge the largest I could make it on my 12"x 12" mat, I love these little boxes, after folding the box I inked all over the edges. To go along with the challenge theme I made a tree gift tag, It can also be used as a Christmas tree ornament, fun idea huh? The beautiful crinkle ribbon is from Prairie Bird Boutique.
So what's in the box? Divinity, light and fluffy very sweet treat, this recipe has been passed down for a few generations, my husband is our holiday baker and makes many of our Christmas goodies.
Our Fantabulous Cricut sponsor this week is Core'dinations. If you haven't heard of them, they have the most amazing color core cardstock, which is great for sanding, to bring out a second or rather the core color that is beneath the first layer. Core'dinations have been so generous to let a few of the Fantabulous Cricut design team members create using this wonderful cardstock.
To learn more creative ideas using the Core'dinations cardstock click -HERE.
More details:
The trees were cut out using the Christmas Cheer cricut cartridge, I used two different trees in various sizes.
I love using my cuttlebug machine and my embossing folders with the Core'dinations cardstock, because then I can sand the embossed image to show that second color (core color).
The embossing folders that I used are (showing in the photo below from left to right) D'vine Swirl, Swiss Dots (for the star and second tree) Holly Ribbons, and Cindy Loo, there was a small square in one of the large cuttlebug folders that I placed the tree in to emboss it. After sanding I inked all the edges of the trees and star.
Thank you Cor'dinations for donating your lovely cardstock to Fantabulous Cricut design team members!
Remember to head over to Fantabulous Cricut to see what the talented design team members have created, view them -HERE ...and then feel free to join us for this weeks challenge "Trimming with a Tag"

Challenged entered:
My Craft Spot -Tag... your it!

post signature

Wednesday, November 16, 2011

RCC Stamp Release Celebration -Day 3 "Sneak Peeks"

Monday and Tuesday were such great days sharing the sneak peeks of the Snowman's Prayer stamp set Along with great giveaways from Prairie Bird Boutique wrinkled ribbon, and from me, one of my favorite products, Sticky Tape. There is still time to leave a comment on Mondays and Tuesdays posts to be eligible for these prizes. And if you missed the Snowman's Prayer sneak peeks check out the two previous posts.

I have to tell you that each day of this week I get more and more excited to share all these great stamp set images with you, I can't wait to show you what my design team has created using my Gingerbread Holiday stamp set... and I will today and tomorrow.
Remember Friday will be our fun Blog Hop and that is the day that the stamp sets can be purchased.

On to today's projects...

I made these super easy treat boxes using a piece of cardstock measuring 4 1/4" x 12". In my video I show the template that I used on my gypsy to cut an image in the cardstock to create window... really it's super easy.
Paperdoll dress Up pg. 73 Gingerbread boy image
Christmas Cheer pg 88 Tree image
Tags were made using my Gingerbread Holiday stamp set.

Now for my design teams wonderful projects

Gwen
The gingerbread border punch is absolutely lovely... oh how cute!
Karen
Such an adorable gingerbread man with his cute little "blinged" up sign.
Linda
A wonderful shaped card, and stamping the sentiment on patterned paper is lovely!
Maquel
Oh so yummy, the cocoa almost looks real! Cutting out the sentiment in a fun shape is a great idea!
Patty
This treat topper is so cute with Santa and Rudolf and the sweet little bird on the tag.
Sheila
This is the coziest chair ever, I could just curl up on it and take a nap! I love the lace around the "pillow"

Today's sponsor is "The Twinery"
The Twinery has generously donated "The New Ultimate Color Sample Pack"
14 colors, 210 yards of beautiful twine
Thank you "Twinery" for donating this generous prize
Leave a comment on todays post to be eligible for this prize from "The Twinery"

Remember to "like" me on facebook, there is a "like" button at the top of my blog on the left hand side bar.

post signature

Monday, December 13, 2010

Fantabulous Cricut Crawl --TODAY "Deck the Halls"

Welcome to Robin's Creative Cottage and the third Fantabulous Cricut Crawl...Fantabulous Cricut's version of a blog hop!

Fantabulous Cricut

In honor of the approaching Christmas holiday, we're having a "Deck The Halls" Crawl...each Design Team member will be featuring an original Christmas/Holiday-themed project that could be used to decorate and spruce up their homes for the Holiday Season!

If you've come from visiting my good friend Penny's blog -Light Whimsy, you're in the right place! If you've just happened across my blog and would like to play along with our Fantabulous Cricut Crawl, start -HERE at Fantabulous Cricut.

Make sure to check out each DT member's blog for some awesome inspiration! There will be PRIZES along the way at our DT members' blogs, AND there will be a Grand Prize up for grabs at FCCB for one participant that submits a "Deck The Halls" project at FCCB!

My "Deck the Halls" project
The Magic of Winter
Just because you don't have a picture frame doesn't mean you can't create a wall decor project.
My wall decor measures 11" x 7" I've decorated my wall with a simply easy and fun project. I've used chipboard for the background, added brown cardstock then a polka-dot pattern paper, then easily decorated using two great cartridges... Winter Woodlands for the words and Christmas Cheer for the snowman head.
The final touch was to add fabric snowflake stickers then the jute/rope for the hanger. Simply magical, and you can't tell from the photo... but my snowman head "wobbles"... so cute!!!!

*****
Come follow my blog and leave a comment on this post and you will be eligible to win
The Winter Combo Printed Matstack 6.5"x 4.5" from DCWV 135 sheets
I will announce my winner on Monday the 20th, check back to see if you've won!!
*****

Now it's your turn! Let's see your Christmas/Holiday-Themed Decor projects! Make sure to include a Cricut cut somewhere on your project!

Next stop...is Saundra's wonderful blog -Luv Scrappin Together. Go see what she has in store for you today... And when you're done, make sure to link up your project to FCCB's Fantabulous Cricut Crawl post to be entered into the contest!

Happy Crawling!
post signature

Friday, November 12, 2010

Oh Christmas Trees -using Christmas Cheer Cricut Cartridge

It's Friday already... where did the week go? I've loved sharing with all of you my creative projects at Everyday Cricut, I hope is that you've been inspired in some way or another.
I want to thank Joy and Melanie for the opportunity to be the guest designer for Everyday Cricut... thank you so much ladies! I love being able to inspire and share with others!

Today I'm sharing a home decor picture frame, using Christmas Cheer, and the Winter Frolic cartridges. Picture frames can be purchased very inexpensively so they are great for Cricut projects. I've used vinyl on the frame glass.
(I apologize, some the photographs are not very clear).

For details about this project please visit Everyday Cricut -HERE.

Here are a few close up views of the finished project.

After cutting my image, I carefully remove the outer and inside pieces of the vinyl (view 1 & 2).

I then place clear transfer tape over my design, then burnish (rub) the image so it will stick to the transfer tape (view 3).

I turned the image over then slowly and carefully removed the backing from the vinyl (view 4 & 5).

Now the fun part is to place the image onto the glass. I remove all the backing and papers from the frame, then press the prongs back down so the glass will stay in place, now I know where to add my image on the glass. Then I carefully placed my design where I wanted it and rubbed it again, and slowly and carefully remove the transfer tape.... Love it!
I measure the papers that I removed from the frame and cut my patterned paper the size that will fit the frame perfectly.

I've decorated my cricut expressions using vinyl you may want to check it out -HERE.

Thank you for visiting me this week, and leaving such wonderful comments, each one meant so much to me... thank you, thank you, thank you!!!

Come on back to my blog often and see that I've been creating, who knows you may get loads of Inspiration... I hope so :)

post signature

Friday, December 11, 2009

Holiday Tags --easy peasy

Simple tags using the Christmas Cheer Cricut cartridge, cut at 3 3/4".
I made these tags to put on the plate of goodies that we'll be taking to neighbors to wish them a Merry Christmas.
My husband is the holiday goody maker, divinity, fudge, and grandma's sugar cookie recipe that we love to decorate. When my family decorates the cookies my husband always kills Rudolf every year by making a frosting arrow on the deer, don't take offense if we didn't have a reindeer he would kill a snowman... it's just a crazy tradition, and if he didn't do it the girls would miss yelling at him... "oh Dad just killed Rudolf.... DAD, oh not again DAD!!!!"
Do you have a silly holiday tradition? Please share.

On to the tag info...
I used the "tag" selection key to cut out the image on the tag, my pattern paper was not cardstock heavy so I cut using these dial sizes: Blade 4, Speed 3, Pressure 3. this is what worked for this paper.
I cut the backing for the tag from pg. 131 of Christmas Cheer.
I added some funky fibers which adds such a fun touch.
Have a wonderful creativity day!
Robin :)

Tuesday, November 17, 2009

Scallop Box Tall .svg cut file

Hi friends,

I have designed a really cute box to share with you all, another simple pattern that if fun for all occasions.

This file is available for download and is offered to you for free, I hope you enjoy it. And I would love to see what you create with this pattern.

Scallop Box Tall

Such a fun box to make, I used "Christmas Cheer" Cricut cartridge (love that little penguin!)
The snow is whit cardstock that has been torn in a long strip and wrapped around the box. To give texture I used the Cuttlebug embossing folder "swiss dots" on the trees, star and the penguin's hat. A white ink pad was brushed lightly over the box and trees. A white gel pen added the eyes to the penguin.

If you have any questions let me know.

Have a wonderfully creative day

Robin :)

Have you joined the Just Buggin Challenge this week? Go check it out! Just Buggin