Thursday, November 1, 2018

Mini Monsters Pumpkin Tags

It's the day after Halloween, but I had to show my silly cookies.
One of our Halloween traditions for years has been to decorate Halloween sugar cookies as a family, I wish all could have been here, but I was glad for those who could come this year.   I gave each of my co-workers a silly decorated pumpkin cookie then made a super quick tag to add to the bag.

Cricut Cartridge: Mini Monsters
Paper: Matte Photo Paper
Jute Twine

Thanks for stoping by today!


Monday, October 29, 2018

Happy Anniversary Card Join our Challenge at Fantabulous Cricut Challenge Blog

Hi, so glad you joined me on my card share today.
I am so excited to be back with Fantabulous Cricut Challenge Blog and joining the bi-monthly challenges.

This weeks challenge: Anniversary Theme

I am so blessed to have wonderful parents who lovingly cared for me and took me to church every Sunday, which definatly gave me a strong foundation in life.  And today, October 29, happens to be my Mom and Dads anniversary... yep today, so below is my card I mailed to them for their anniversary.

I designed this card in Cricut Design Space using the Sweetheart cartridge, the images I used are the heart and the word love.
 I used American Crafts vanilla cardstock, Recollections gold cardstock and patterned paper from my stash.
 I had fun adding layers to give stunning dimension, the heart and love word were cut out 4 times each with the vanilla cardstock then I glued one on top of the other.  I hand stamped Happy Anniversary using Lawn Fawn stamp set "Happy Happy Happy" in black ink.
I randomly added white sticky pearls from my stash of supplies. 
 Close up look of the layered dimension

Come over to Fantabulous Cricut Challenge Blog to check out the other wonderful anniversary projects from the design team -HERE.

And join the challenge.  Our sponsor for this challenge is from Dreaming Tree, they have amazing SVG files in their shop and several freebies ;)  go check them out.  The lucky winner of the Fantabulous Cricut challenge is a $10 gift certificate.


Thanks for visiting my blog!!

Thursday, October 18, 2018

Winter Mittens Gift Card Holder

Oh so cute! I just love how the winter mittens turned out.  Giving a gift card can be very stylish with these cozy mittens, the only difference with the photo below is I've added a "To From" tag on the back side where the scallop pocket is.
Come see more photos in my Easy shop and maybe you'll find something that is perfect for holiday gift giving.


Thank you for taking the time to visit my blog today.

Monday, October 15, 2018

Hello and New Updates!

   Hello friends, it has been way too long since I hung out here at my blog and it's due time to blow the dust off and get posting again...... (insert long blowing noise).

Life continues to take us to all different directions and I'm sure many of you have had just as much change as well.  We've endured a few moves, built a house put in a yard (ok, my husband has done most of that), had a few weddings.  Now all my girls are married and I have wonderful bouncing grand babies to enjoy, life is full and I have been blessed.

Although my life is full, my creative adventure never seems to stop, and as you know I'm always creating something with my piles and piles of paper and supplies that I've collected, and it's about time to share my latest creations, so I've decided to open up an Etsy shop.


This shop name is one that I've carried withe me for many years now, the H A V are the initials of my three wonderful daughters, and the 2 Create, well I'm sure you can figure that part out. {smile}
I have always loved shape card so you will see in my shop I have a ton, I've made the sweetest baby cards that can be personalized, Apple cards that can be personalize with a favorite teachers name, cute mini Christmas gift card holders, birthday gift card holders, birthday balloons and much more.

Enough talk.... lets get the the photos, below is what you will see in my shop right now.   -caution photo heavy-


I would love it if you could come take a look around my shop.  
Tomorrow I'll show you my darling mitten gift card holders in three different colors please stay tuned ;)
Here is my shop:
https://www.etsy.com/shop/Hav2Create

Tuesday, January 20, 2015

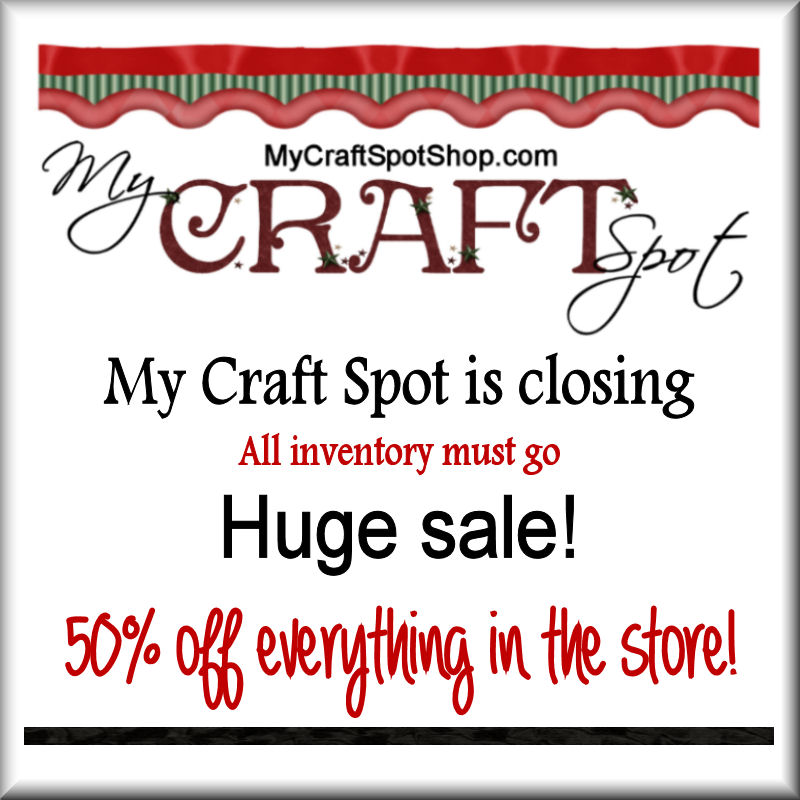
My Craft Spot -Closing

Hey everyone,

I'm sad to say that My Craft Spot will be closing it's doors and all inventory will be cleared out. 

I have had the wonderful privilege of working with Kimberly (the owner of My Craft Spot) for over two years. I first designed the fun cupcake/floral look of her blog, and became a design team member. Then Kimberly gave me the opportunity to design a few stamp sets as well as all the metal dies that were in her store.
I have enjoyed the time I've had designing and creating for My Craft Spot and will miss it so much, I'll also miss all the wonderful design team members that have been a part of the My Craft Spot team.
Thank you, thank you Kimberly and best wishes to you and your family!!

There are still a few items available in the My Craft Spot shop and all at 50% off, remember to use the link below to go shopping.


http://mycraftspotshop.com?code=MCS50Thanks


Tuesday, June 10, 2014

Hello Friend

Hello everyone, I'm sharing a fun card with you using three metal die sets available from My Craft Spot. This is being featured over at My Craft Spot today.
The metal dies I used are the Tiny Banners & Toppers, Small Alphabet and the brand new Word Quotes as well as Posy Baker Twine, all are available in the My Craft Spot shop -HERE.

I love the new Word Quote die and have already made several cards using this die. I have made a few photo tutorials on my blog of ideas on how to use this 4 piece metal die set, view the tutorials -HERE.

The banner was fun to make, I just cut 5 of the banners to use from the Tiny Banner metal die set, added a flower on each banner using the Small Alphabet metal die set, the letters were cut from that set as well.
I strung each banner on a piece of Posy Baker Twine.  The bows I tied individually then hot glued them the end of each banner.
I used one die from the Word Quotes die set ... the word "friend" (remember to save the dot for the "i") I cut it directly on a 5 1/4" x 4" piece of patterned paper.
Close up of the banner.
And even closer.
Thanks so much for visiting my blog today, have a wonderfully creative day!

Monday, June 9, 2014

Winner!!! Blog Hop Winner!!!

Hello friends,
I had so much fun last week sharing projects with the My Craft Spot stamp sets and metal dies and now I'm thrilled to announce my winner...
 Winner of the Word Quotes Metal Die Set -donated by Kimberly is..
(chosen by random.org)
#21 Sharla
 Congratulations Sharla!!!!
Please contact me ASAP with your mailing address at
robinscreativecottage @ yahoo .com (remove spaces)
For photo tutorials on how to use the Word Quotes metal die click -HERE.
Thank you to everyone who took the time to comment on my blog post, each comment just made my day!

Saturday, June 7, 2014

Blog Hop -Blog Hop ~My Craft Spot

Woo Hoo... today is the My Craft Spot Stamp Release Blog Hop. I know I've had a wonderful time sharing projects from all 5 new stamp sets and 3 new metal dies.
All stamp sets and metal dies are available for purchase today at My Craft Spot.

Today the inspiration continues with more ideas from Kimberly and the design team using the new stamp sets, each design team member will have a stamp set or metal die set to give away as well... so exciting huh!!!
If you've just hopped here from my talented friend Gwen's Blog -This and That by Gwen then you are in just the right place for the blog hop, if you would like to start at the beginning of the hop then please go to My Craft Spot -HERE

Blog Hop Order:
Robin (you are here)
Here is a quick and easy card using the new Word Quotes metal die set as well as the new Fancy Edges 2 metal die set.
I have photo tutorials of how to use the Word Quotes on this post -HERE. check it out, you'll be glad you did.
 The phone shape was cut using my Silhouette Cameo, I found the shape by just doing a google search.  I added a few lines and dots to the phone and also made a few faint score lines on each end of the phone as well.
I love the loopy phone cord, it's one of the metal dies from the Fancy Edges 2, there are 7 dies in this set, two of which are this loopy border shape, this is the smaller of the two. I did have to bend the loopy border a bit so I could get it to curve where I wanted before gluing it down.

I used the word die "hello" from the Word Quotes metal die set and cut it directly out of the printed patterned paper that was a 4" x 5 1/4" size, layered it directly on black cardstock measuring 4 1/8" x 5 3/8".  The card base was ivory cardstock size 4 1/4" x 5 1/2" folded.
Inside of the card, I added the same loopy border.
And now I'm so excited to give one of the new metal die sets away that I had the privilege of designing, this was donated by Kimberly -thank you Kimberly! Word Quotes metal die set (set of 4) will go to one fantabulous winner, for your chance to win, follow the steps below......

1)  please become a follower of my blog (if you are not already)
2)  please leave a comment here on my blog and let me know which of the 4 new stamp sets or metal dies are your favorite from this release.
3) (optional) "like" my facebook page.... be the first to see all the creative ideas I post on my blog.
Thank you so much for visiting my blog today!!!
Your next stop along the hop is my wonderful friend Saundra -Luv Scrapping Together.
Thank you for stopping by! 
Have a fabulous time hopping blog friends!

Friday, June 6, 2014

Day 5 -Build A Birthday ~New Release

Hello all my friends, I hope you have followed along this week for the fabulous Stamp Release Party for My Craft Spot, I know the design team and I have really enjoyed sharing many inspiring projects with and today, day 5, the inspiration continues.
We are showing a sneak peek of the new Build a Birthday stamp set designed by Kimberly.
I also used the new Word Quotes and the new Fancy Edges 2 metal die sets for my card as well as Vintage Chocolate Bakers Twine.
All brand new stamp sets and metal dies from this weeks release will be available to purchase tomorrow.
This stamp set is fun to put together different birthday word fonts, the phrases are also cute whimsical phrases as well.
I cut two quote bubbles from the solid Word Quote metal die and layer one over the other, just off setting it to create a shadow effect. I stamped one of the super cute phrases from the Build A Birthday on the bubble.
The star border is perfect on birthday cards, it is from the Fancy Edges 2 metal die set that I designed for My Craft Spot, there are 7 great images in this set. All the little stars that are die cut can be used as confetti, or as I used it places them all over my card.... it just screams "celebration"!!
The "happy" & "birthday" words are two separate stamps from the Build A Birthday stamp set, there are other words to mix and match too... fun stamp set!
I added a bit of Vintage Chocolate bakers twine around my card.
Inside of the card using the star border.
Thanks for joining me for day 5 of the sneak peeks, please join us tomorrow for the My Craft Spot blog hop where the design team will once again inspire you with more projects using one of the 5 new stamp sets and metal dies. Also each design team members (including myself) will be giving away one of the 4 stamp sets or metal dies, generously provided by Kimberly.
All 4 of the stamp sets including the 2 metal dies will be available for purchase tomorrow at My Craft Spot.
One last thing, remember to head over to My Craft Spot today to see the many other amazing projects made by Kimberly and her design team using the brand new Build a Birthday stamp set and leave a comment on Kimberly's blog (My Craft Spot) today for your chance to win the Tiny Tags stamp set click -HERE for My Craft Spot.